I love to save money, and when I realized how many CTMH
products I wanted to buy, it just made sense for me to sign up to get the
discount (not to mention the kit full of products at a deep discount!) Now, 11 years later, I look at the many
reasons there are to join Close to My Heart and our Scrappin' Chatters team!
1. The Discount! Yes, all these years later, this is still high on my list for why anyone
should join CTMH! You begin with a 22%
discount on all product orders. So any
order you place, you will instantly receive 22% off the retail total (excluding
tax & s/h). For example, if you sold
and collected payments on items totaling $100, you would keep $22 for your
compensation and pay only $78 to CTMH.
Each month, you have the ability to earn additional commissions and
Select Product Credit (SPC)!
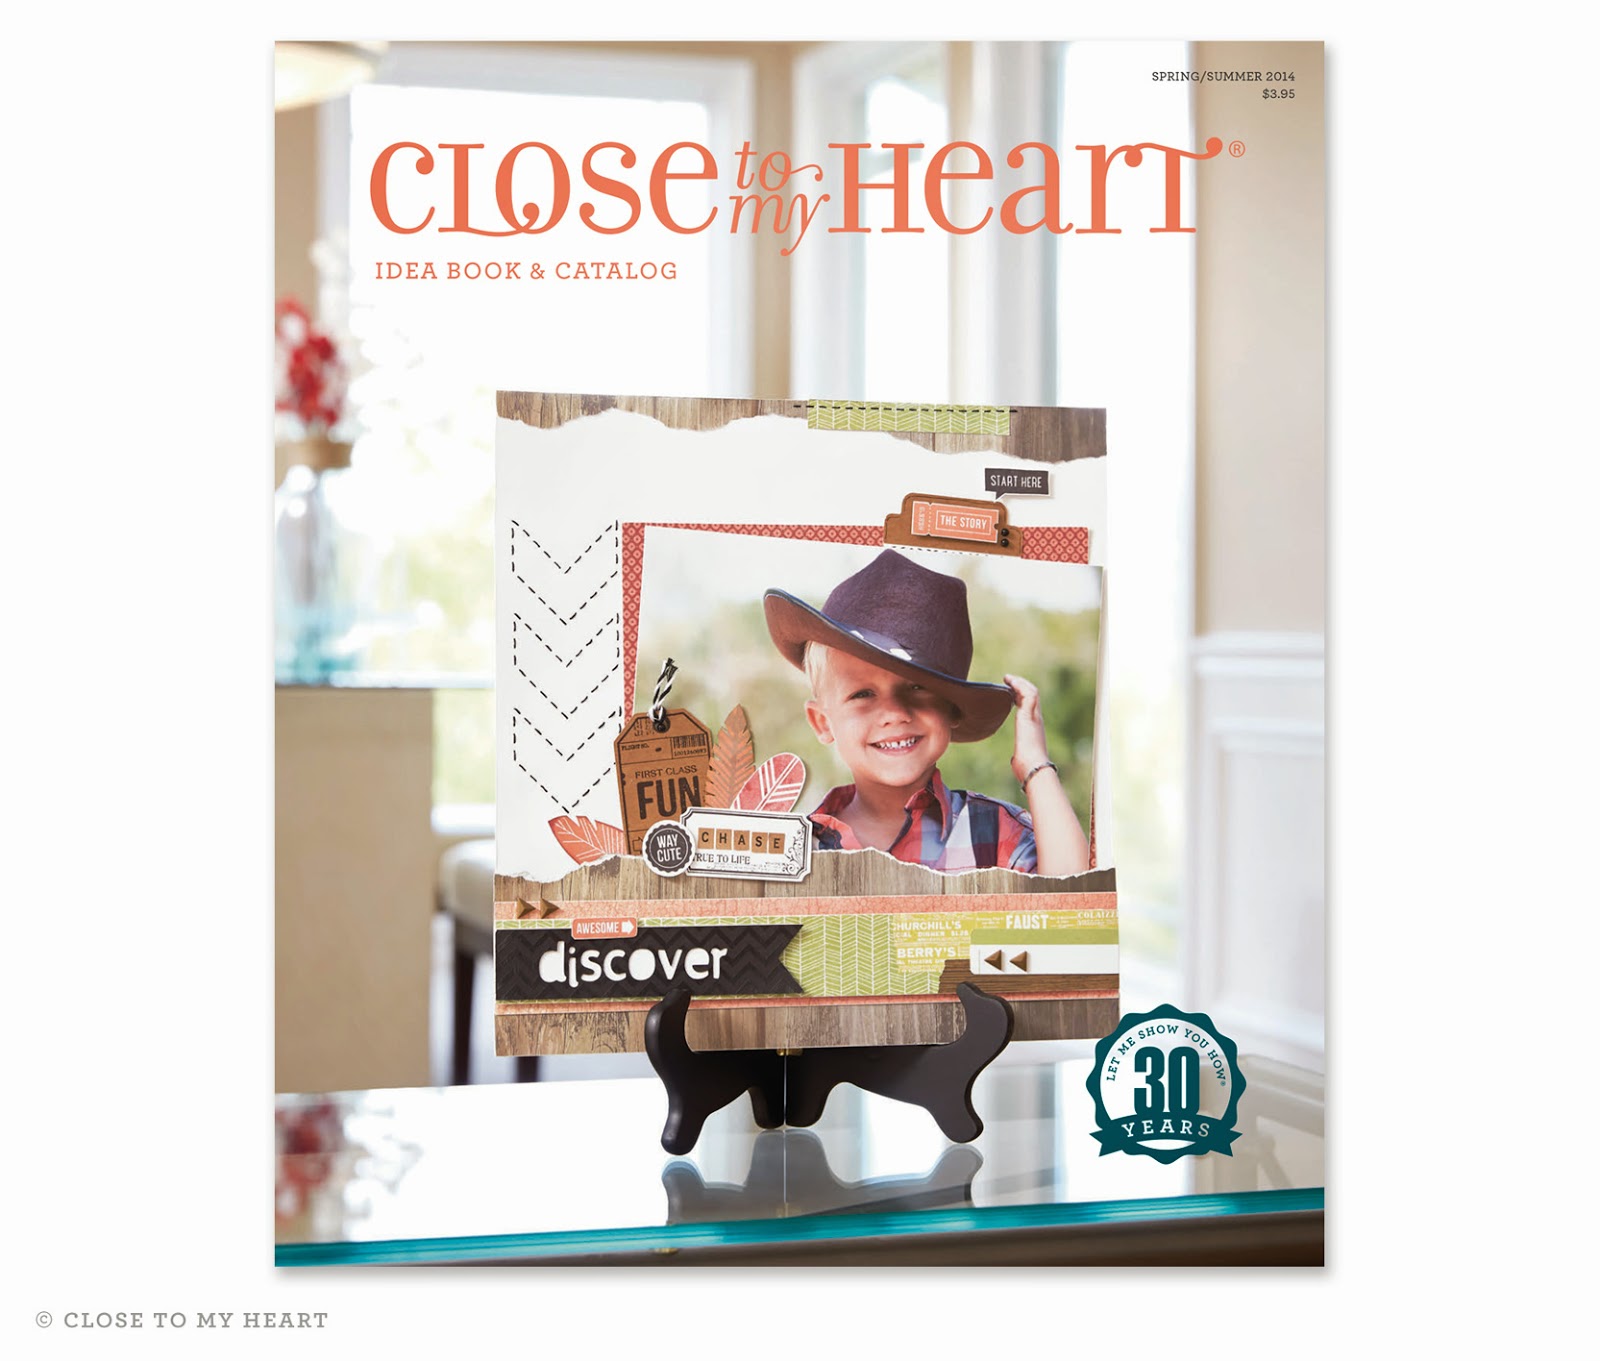 2. Products! I loved the products all those years ago and
STILL DO!! Close to My Heart stays up-to-date
on all the trends and ensures our products are always on target! As an added BONUS, Close to My Heart will now
be releasing NEW products every 4 months beginning this Fall! Talk about staying current on trends!
2. Products! I loved the products all those years ago and
STILL DO!! Close to My Heart stays up-to-date
on all the trends and ensures our products are always on target! As an added BONUS, Close to My Heart will now
be releasing NEW products every 4 months beginning this Fall! Talk about staying current on trends! 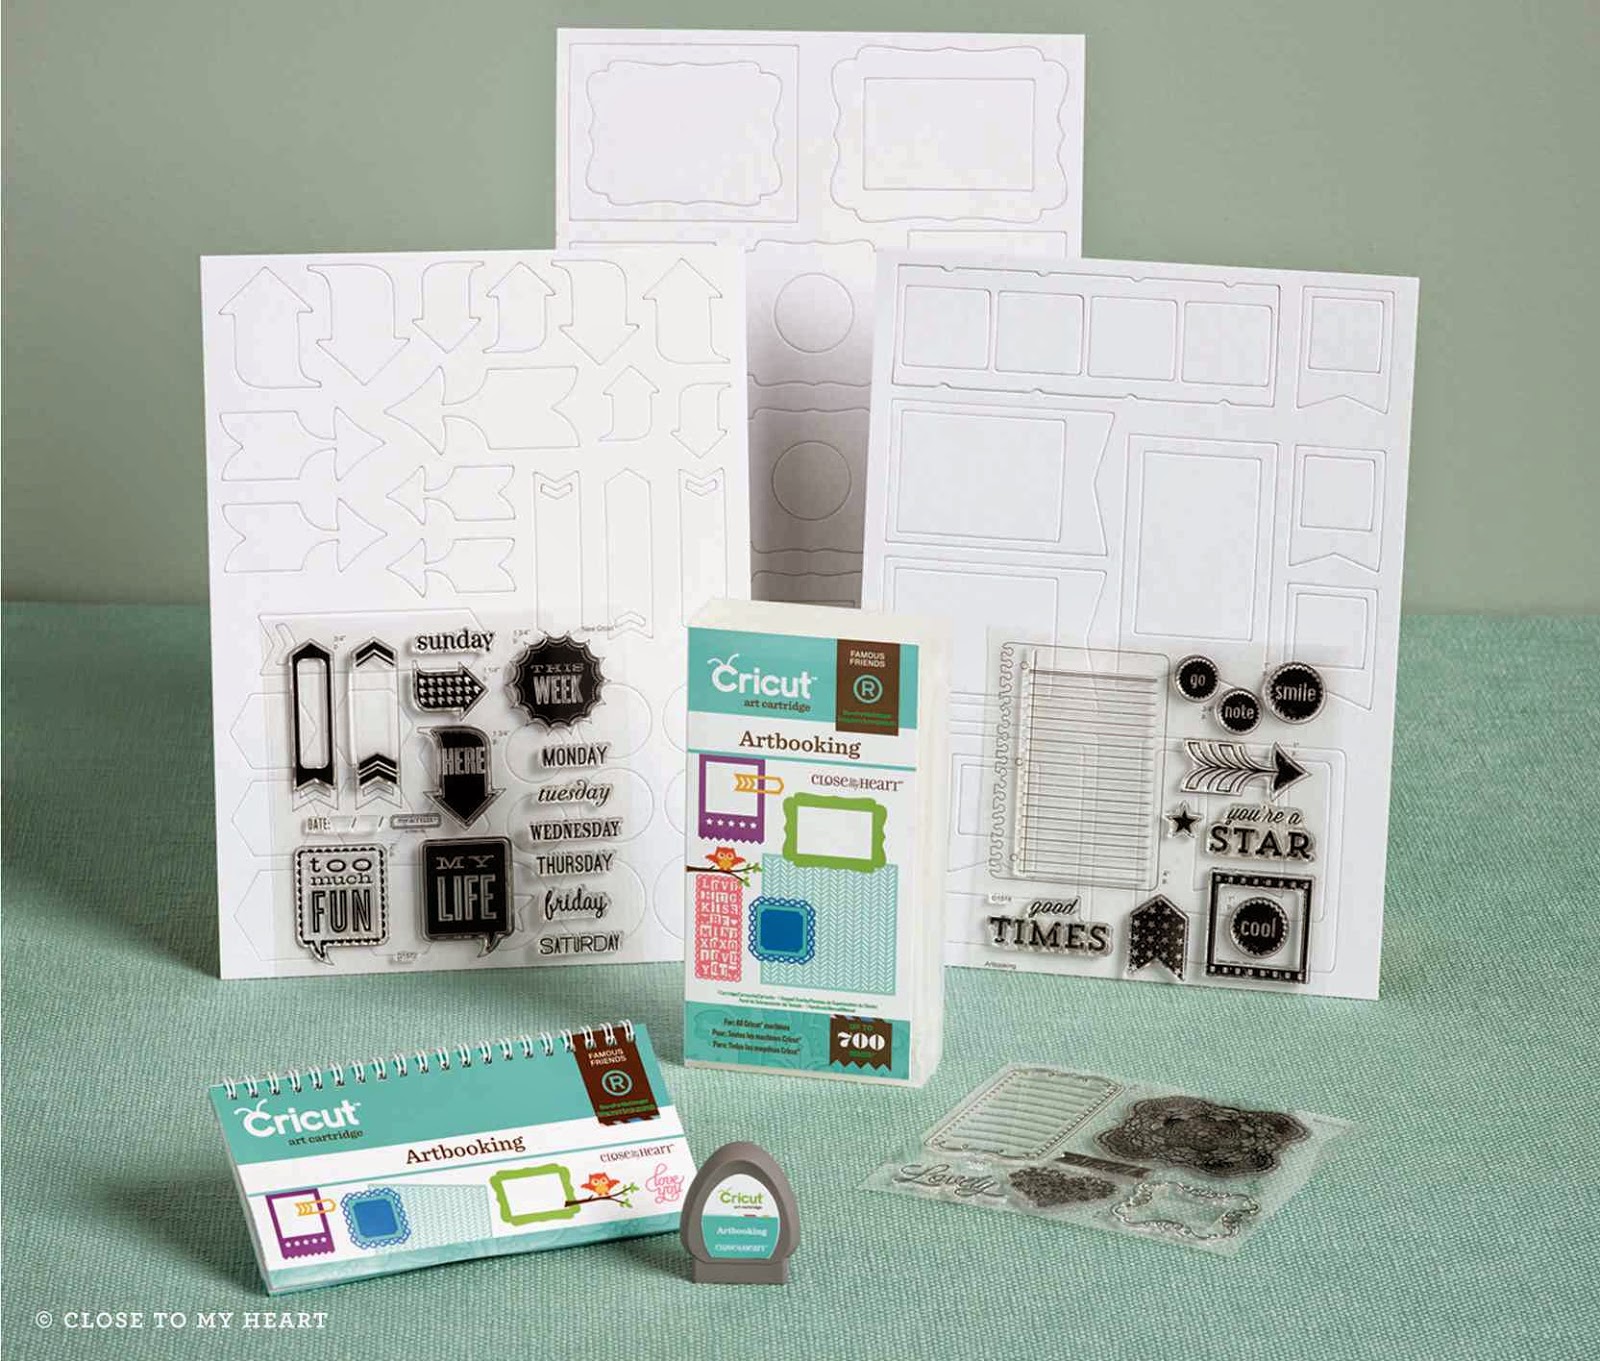 3.
Innovation! CTMH is the
innovative leader in the industry!! From
the introduction of true 12"x12" albums, to My Acrylix stamps and our
exclusive Cricut Collections, CTMH is constantly leading the industry in
innovation and inspiring creativity worldwide!
Click here to read more on CTMH Innovation!
3.
Innovation! CTMH is the
innovative leader in the industry!! From
the introduction of true 12"x12" albums, to My Acrylix stamps and our
exclusive Cricut Collections, CTMH is constantly leading the industry in
innovation and inspiring creativity worldwide!
Click here to read more on CTMH Innovation!
4. Training! Close to My Heart has a fully staffed
training department that focuses on ensuring consultants have the most
up-to-date training and information on new products, techniques and more! CTMH is regularly releasing YouTube videos to
make it easier for us to educate our customers, along with our online Training
Site to give us detailed training on creativity, products and more! The training is unsurpassed and is a valuable
resource for new crafters looking to learn stamping, scrapbooking and paper
crafting techniques!
5. Community! The Close to My Heart community is filled
with fabulous members who share their artwork, ideas, tips and more to help
every CTMH member succeed, whether in building a business or completing their
projects…our community will provide you the warm support you need to accomplish
any goal you set your sites on!
6. FREE
Resources! Of course FREE is
AWESOME!!
a. FREE Online
Business Address (OBA): Every CTMH
consultant is given an Online Business Address (OBA) where customers can shop,
view the idea book, watch videos, learn about products, explore the current
specials, and even join your team. The
great thing about the OBAs is that CTMH maintains them, so there is no work on
our part, but we enjoy all of the benefits and commissions.
b. FREE Newsletter
Service: We are provided with
professionally designed, monthly newsletters to share with our friends and
customers! The newsletter is designed by
the CTMH Marketing Department, which reduces the amount of work on our part,
but we do have the option to personalize the first section of it to add our own
personal touch and advertise our specials and events.
c. FREE Credit
Card Processing: CTMH allows us to
accept credit cards both on our website and at gatherings and we pay NO
processing fees!! You get to keep YOUR
COMMISSION!!
Can you believe CTMH provides ALL these resources free, allowing us to keep our COMMISSION and making it easy for us to be
successful?!
 7. Travel!! Each year Close to My Heart offers an
incentive trip with airfare and accommodations for 2! I've been blessed to participate in 7 of
these trips and number 8 is on the horizon!
I've traveled to Alaska, the Mediterranean, New Zealand, the Caribbean,
Hawaii, Puerto Rico, and Costa Rica!!
What makes this more exciting is that the goals you set to achieve these
trips are also growing your business and your income!!
7. Travel!! Each year Close to My Heart offers an
incentive trip with airfare and accommodations for 2! I've been blessed to participate in 7 of
these trips and number 8 is on the horizon!
I've traveled to Alaska, the Mediterranean, New Zealand, the Caribbean,
Hawaii, Puerto Rico, and Costa Rica!!
What makes this more exciting is that the goals you set to achieve these
trips are also growing your business and your income!! 8.
Convention. This is one of those
events it is just too hard to put into words, it is so absolutely
spectacular! Like trying to describe
everything you experienced during a Cirque Du Soleil show! Absolutely amazing in it's entirety and so
hard to describe every fabulous aspect!
I have friends from all over the United States and now in Australia and
New Zealand thanks to the connections, training and inspiration we receive at
our annual Convention!!
8.
Convention. This is one of those
events it is just too hard to put into words, it is so absolutely
spectacular! Like trying to describe
everything you experienced during a Cirque Du Soleil show! Absolutely amazing in it's entirety and so
hard to describe every fabulous aspect!
I have friends from all over the United States and now in Australia and
New Zealand thanks to the connections, training and inspiration we receive at
our annual Convention!!
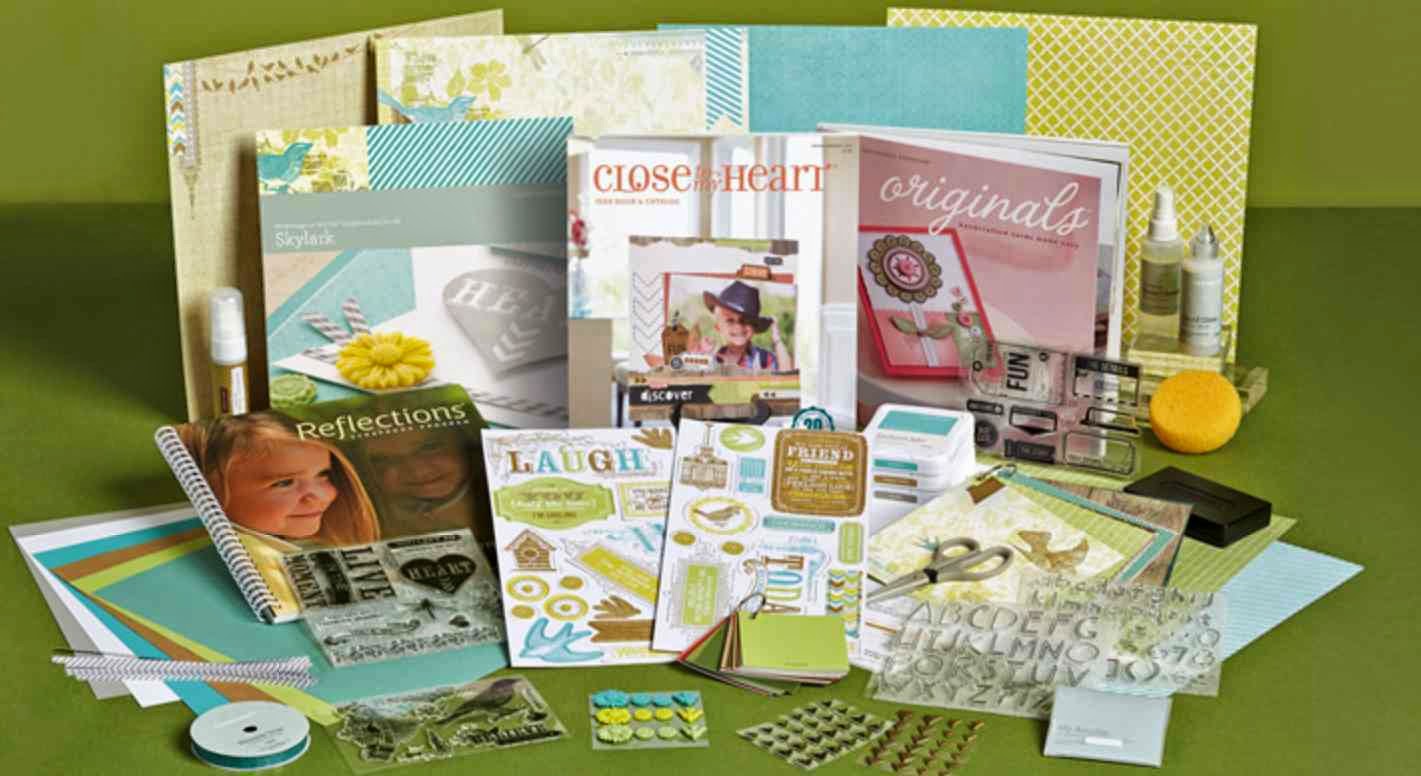
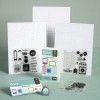
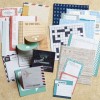
9. Low startup
costs! Have you considered starting your
own business? With Close to My Heart,
the startup costs are so very low!
Currently ONLY $99 to launch your own business, complete with website,
advertising, samples, training and more!
The Consultant Kit comes with everything you need to host your first
event and begin earning an income!!
Refer back to item 6…most businesses you have to pay for all of those
resources…so for ONLY $99, you not only get the supplies needed, you also get
the marketing resources to help you successfully launch your business!!
10.
Flexibility! I joined for the
discount all those years ago and of course have stayed with it…but one of the
things I love about Close to My Heart is the flexibility to work my business
the way that best suits my family and me!
You can choose to host gatherings, crops, or retreats; focus on social
media and blogging; host workshops and clubs, or any combination of activities
that work for you! You decide what type
of consultant you want to be and how you want to run your business!
11. Monthly
Specials! Close to My Heart offers a
monthly campaign that costs consultants nothing to offer to their
customers!! Additionally, we have our
Stamp of the Month program to reward our customers purchases, along with the
monthly constant campaign!!
12. Gatherings and Workshops on the Go! Years ago I can remember trying to design a make-and-take for my first home gathering. To this day, I am grateful that the ladies enjoyed the project, although I think my children could have designed a better looking creation! Fortunately, CTMH now provides us with a comprehensive collection of projects, instructions and even pricing so that we can offer gatherings and workshops to our customers in an economical, efficient and creative way! We are provided with cutting guides, price breakdowns, supply lists and marketing materials to make running our business Faster, Simpler, and Easier than ever!
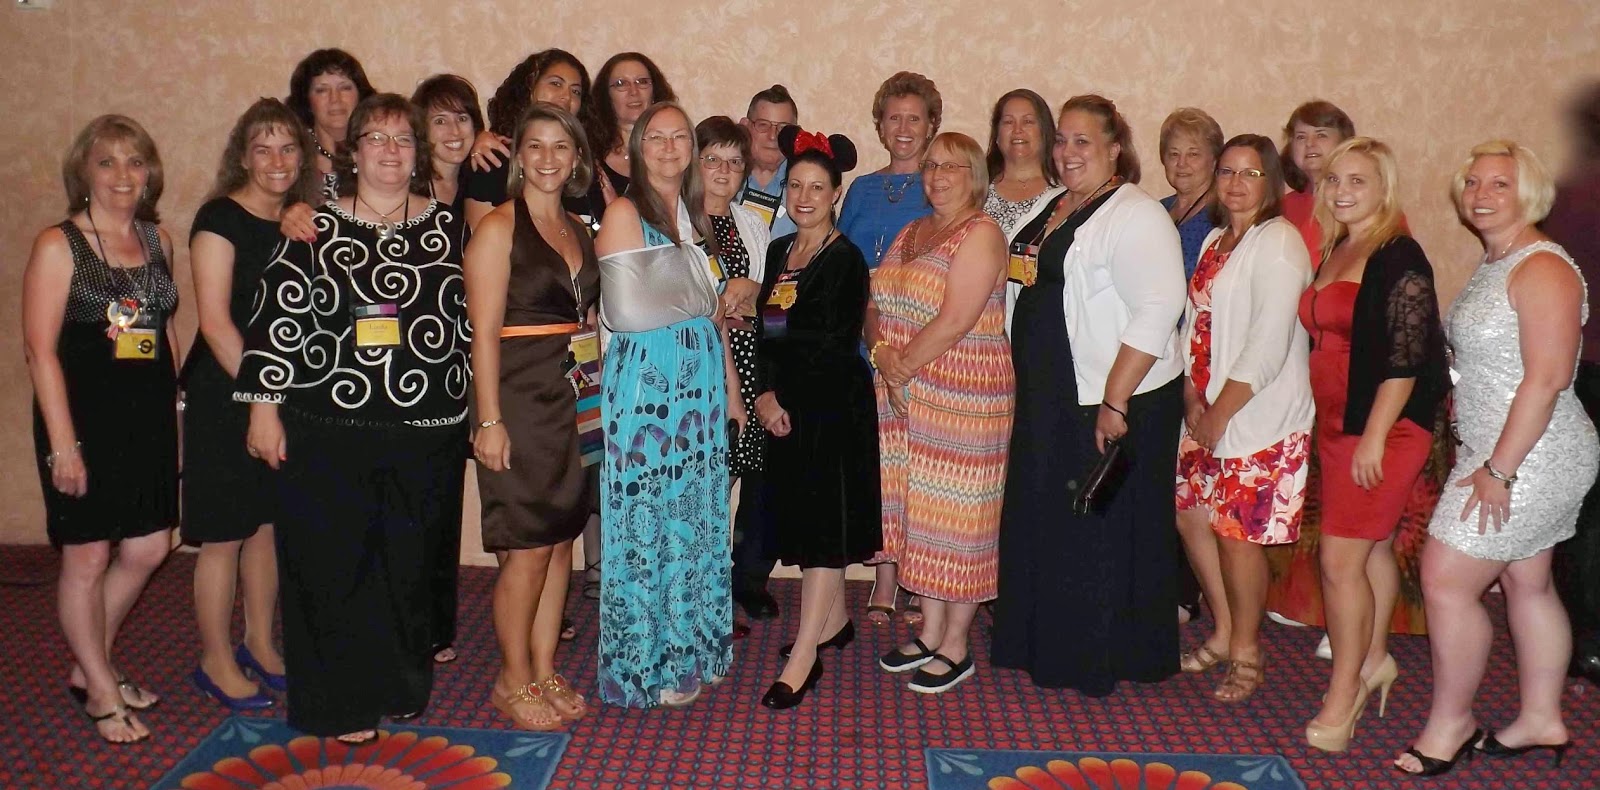
BONUS: Scrappin'
Chatters Team!! Our Close to My Heart
Scrappin' Chatters Team includes award-winning consultants who share their
talents, creativity, and support with everyone on the team! We have an active Facebook Group, allowing
everyone to connect, ask questions, share artwork and inspire others! Plus an annual team retreat where we spend a
weekend creating, connecting, and of course eating, while learning more about
each other and Close to My Heart!


