Thursday, September 11, 2014

CTMH Halloween Scaredy Cat Card

I'm a scrapbooker at heart, but of course can't stand for those leftover papers to go to waste, so after completing a layout, I like to play with the scraps and leftover embellishments to see what kind of cards I can create for my stash!  

The sentiment comes from the Scaredy Cat Complements and reads "I'm here for the CANDY".


The pattern is from our Make It From Your Heart Volume 2 pattern book, pattern #24.  

I embellished with a bit of our NEW Thistle Diagonal Striped ribbon and White Enamel Stars.  I wrapped the ribbon around the card, then added a couple extra ribbon knots to fill it in a bit.  


I do struggle with flat stickers, so overcame that with our 3D Foam Tape to give it a little dimension to the sentiment!  Of course, no project is complete without a little bling and our Shimmer Trim is such an inexpensive and easy way to add bling to any project, so there's a small strip of our Black Shimmer Trim to finish this card up!  

I'm thinking this will be a cute card, attached to a bag of candy, for one of our fabulous school helpers!


Scrap ~ Chat ~ Create

Wednesday, September 10, 2014

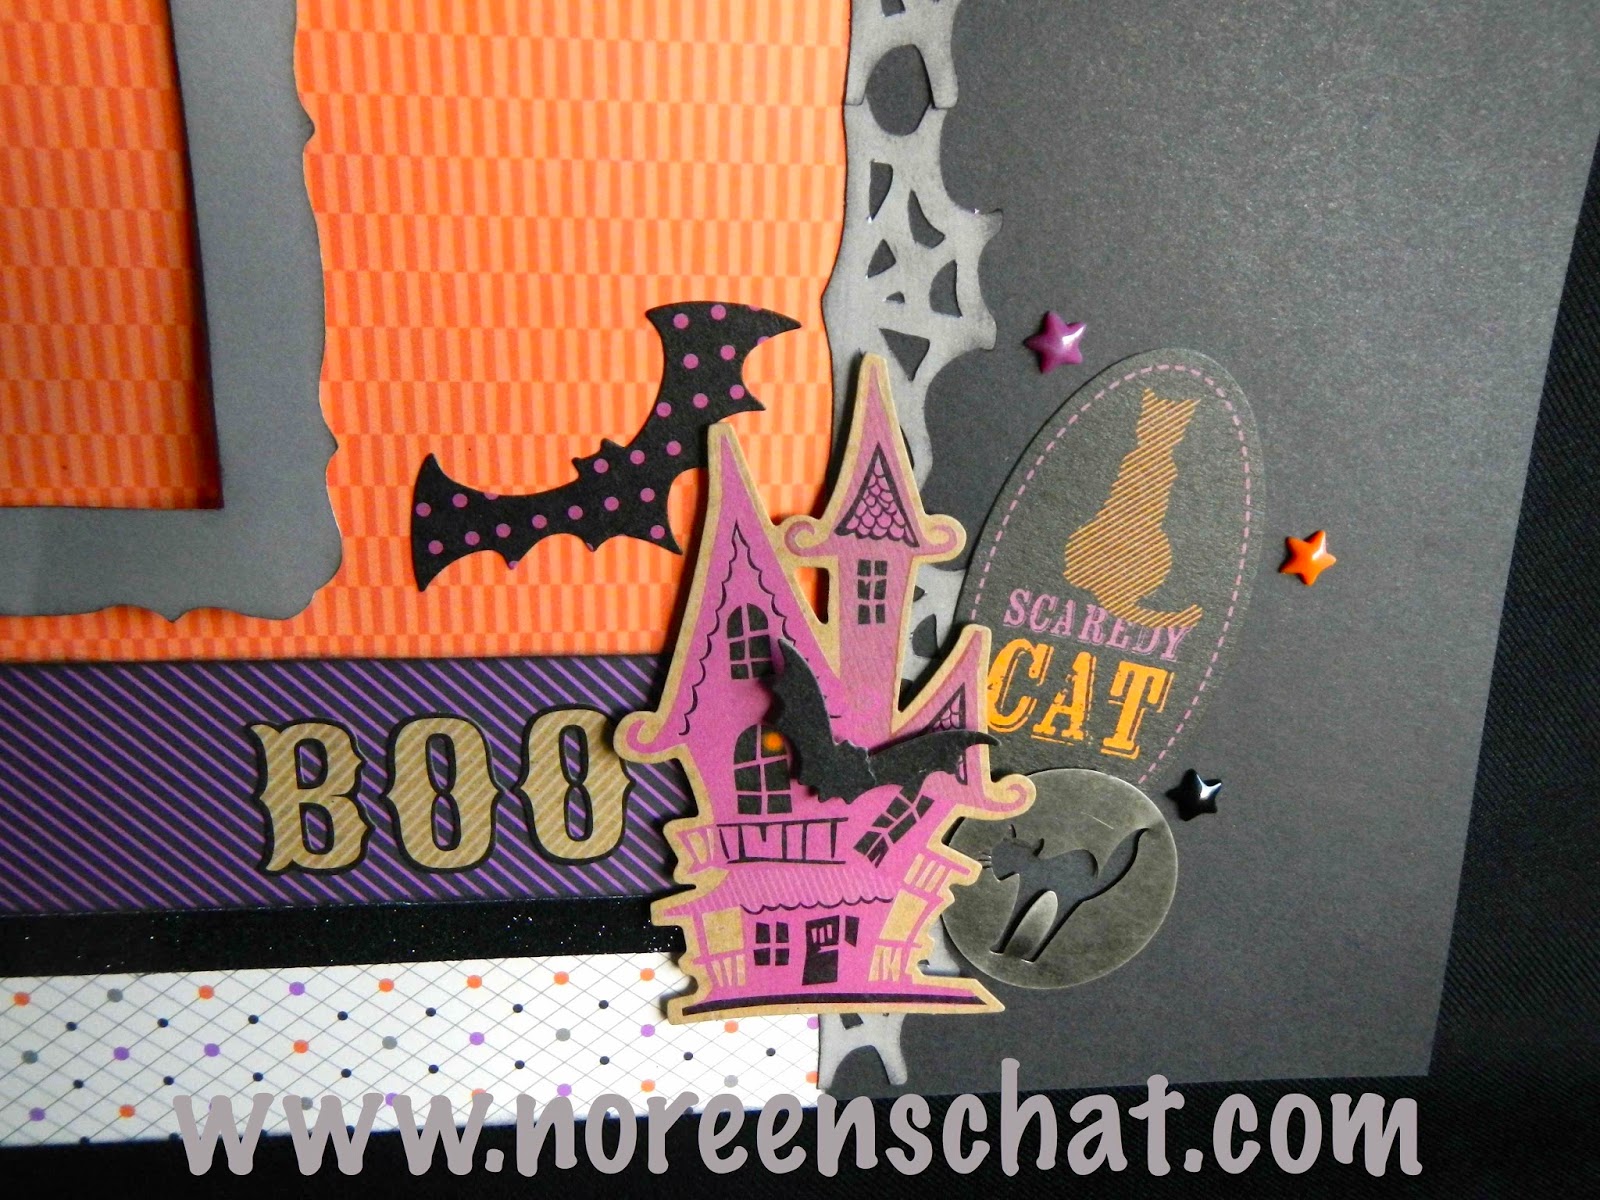
CTMH Halloween Scaredy Cat Scrapbook Layout

So when it comes to scrapbooking, my absolute FAVORITE event to scrapbook is Halloween!  I'm not sure if it's the colors, the creativity or maybe it's the throwback memories of Halloween's past that gets me so excited to create…but it's my FAVE!  

So when all my new Close to My Heart goodies arrived, the NEW Scaredy Cat collection had me itching to create!!


This layout was inspired by a layout I saw at our annual CTMH Convention, designed by the ever-creative Brenda Rose (you can see some of her designs at http://roseblossomlegacies.com)


The spider web photo mats and borders were cut using our Cricut Artbooking collection.  I love the Scaredy Cat Complements…they include 2 sheets of KRAFT stickers…such a unique variation from the norm!  

I used our 3D Foam Tape to add a little dimension to the stickers and clustered them with some of the Scaredy Cat Assortment.  Now to impatiently wait for Halloween to arrive!!


Scrap ~ Chat ~ Create

Tuesday, September 9, 2014

CTMH Base & Bling Cuff Bracelet

This bracelet is another of our Close to My Heart annual convention projects!  This is but one of the many fun factors of attending convention: playing with such a huge variety of new products.

We were able to choose our image from the Journey Style Sheet and there were quite a few I was debating between:

Living the Dream

Fairest of Them All

Do Impossible Things 

and

I Choose to Be Awesome Today

 …ultimately I'm in love with my creation!


Assembly was a cinch, the hardest part was picking the image!  Trim the image as needed and center on the cuff, then use a thin layer of Liquid Glass to adhere the glass cover.  The style sheets are printed on a coated stock to preserve color vibrancy and the Liquid Glass packs the perfect amount of stick to keep the glass cover in place!!  Such a quick, easy and fun project!!

Scrap ~ Chat ~ Create

Monday, September 8, 2014

CTMH Chalk It Up Waterfall Folio Mini-Album

I thought I would be done playing with Chalk It Up, but then I saw a waterfall folio mini-album created by my team member April Smith.  

April used Seaside and Brushed on hers and I knew I had to create one and immediately reached for my Chalk It Up papers and Picture My Life cards!  April shared this YouTube tutorial from MyScrappySisters which showed me how to create it. 


Of course, as soon as I saw the "waterfall" instructions, I immediately saw how our 3x4 Flip Flaps would work perfectly as a quick and easy way to create the waterfall without all the cutting and scoring of the cardstock flaps!  (Yes, my addiction to Flip Flaps continues!!)

I trimmed each of the flip flaps 1/4" off the adhesive edge, which allowed me to follow the tutorial instructions of starting at the top and lining each subsequent flip flap flush with the previous one.  You can recreate without trimming, but you'll either need to overlap or reduce the number of flip flaps you use.  By trimming that 1/4", I was able to fit (7) 3x4 Flip Flaps down the right panel.

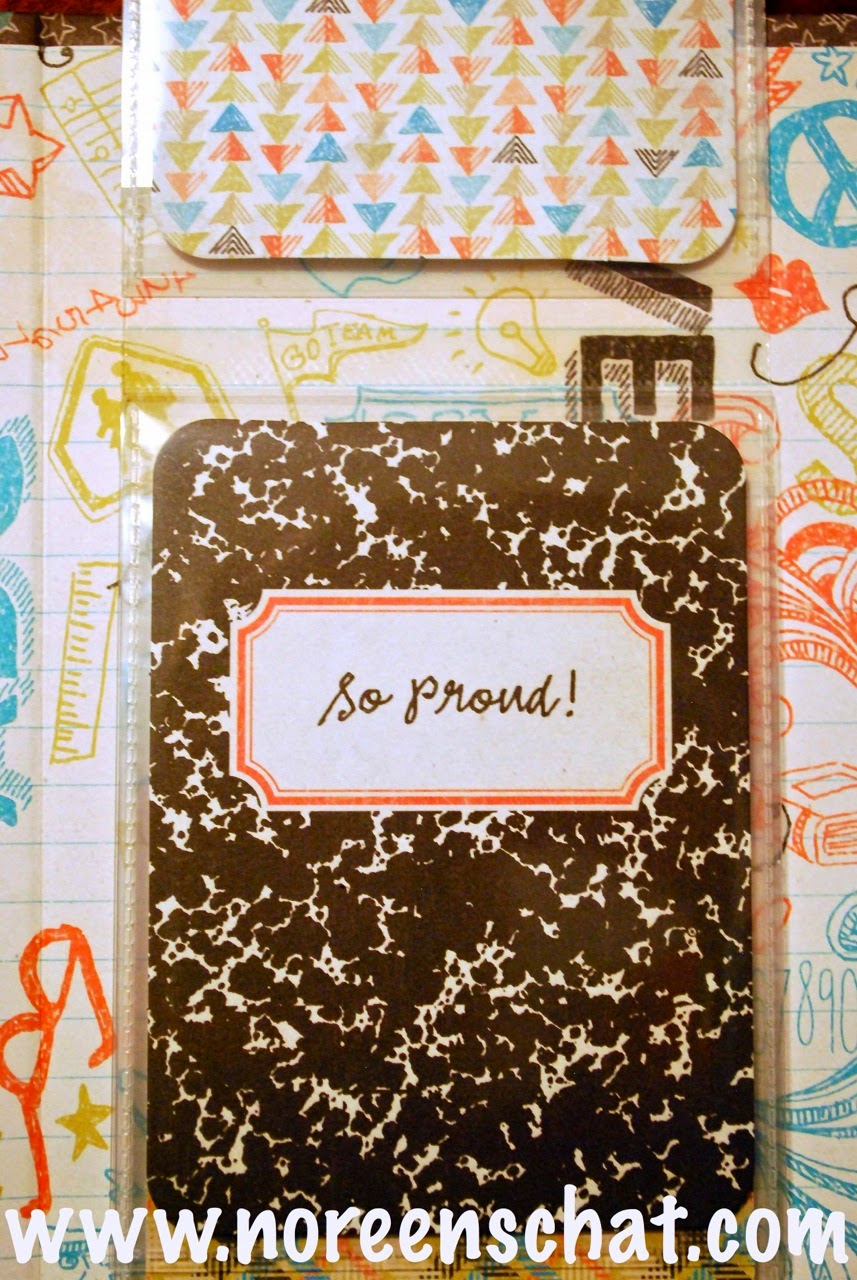
Since our 3x4 flip flaps perfectly match our 3x4 Picture My Life cards, I grabbed some cards to fill in my waterfall for a super fast mini-album creation!  I followed the tutorials measurements for the left pocket and found my 3x4 cards got lost in the pocket, so instead grabbed some 4x6 Picture My Life cards for the pocket.  Next one I'm thinking I'll make the pocket smaller so I can use more of my 3x4 cards!

I really enjoyed this project and anticipate creating a few more with some of our additional Picture My Life collections!!

Thanks for visiting, please leave a comment!

Scrap ~ Chat ~ Create

Friday, September 5, 2014

CTMH Flip Flaps

Our CTMH Corporate office has released a quick video about my beloved Flip Flaps, so I wanted to share it with you!  

Flip Flaps are self-adhesive page protectors, available in a variety of sizes:  2x2, 3x3, 3x4, 4x4, 4x6, 6x6, 4x12, 6x12 and 8x12!

I've also included my own Flip Flap videos below, just in case you haven't seen them yet…or would like another look!

CTMH Flip Flap video


We've introduced a new purchase option, for all our pocket scrapbookers, you can now get a collection of 15 - 3x4 Flip Flaps in it's own package.  Otherwise, the Small Assortment includes 4 each of 4 different sizes: 2x2, 3x3, 3x4 and 4x4!
I'd love to answer any questions you have about Flip Flaps…as you can see from the videos, I use quite a few of them!!

Scrap ~ Chat ~ Create
Thursday, September 4, 2014

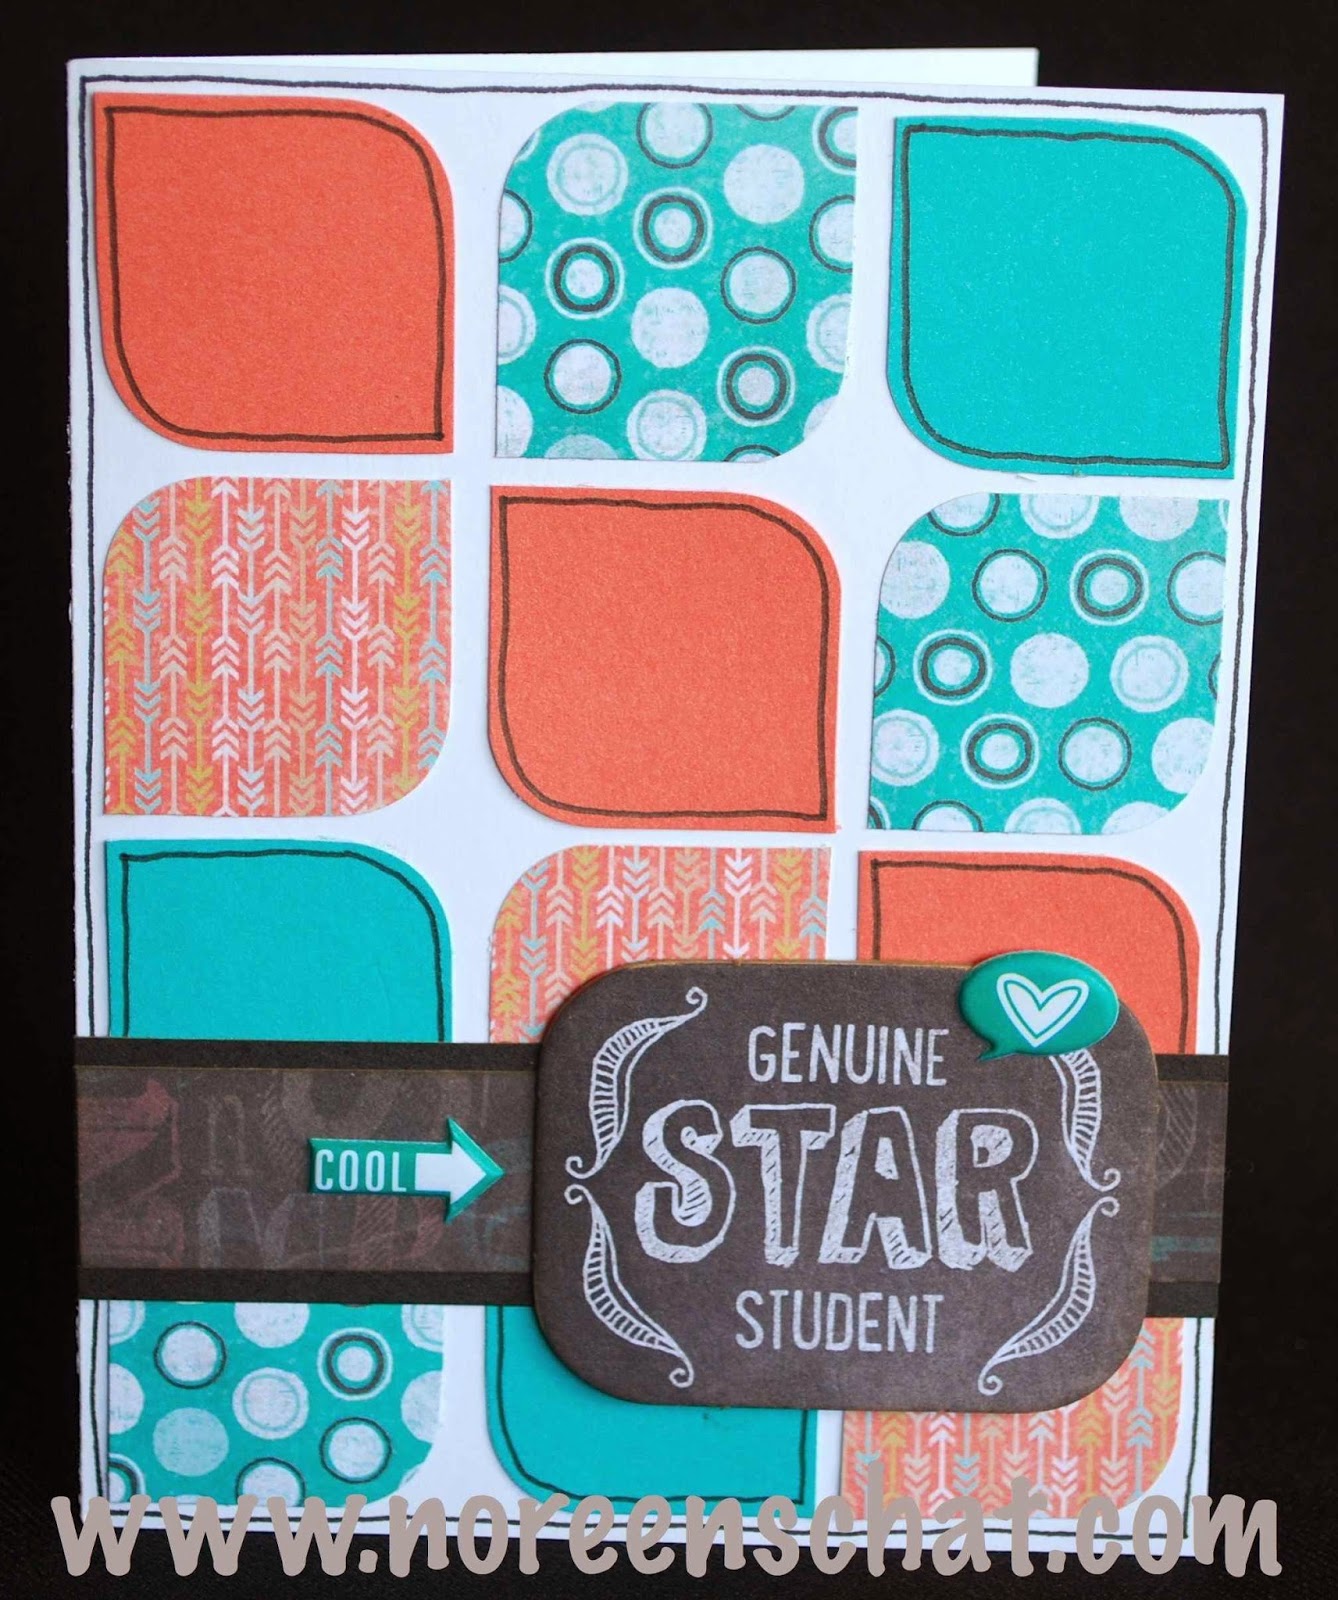
CTMH Chalk It Up Star Student Card

This Chalk It Up card follows the pattern from Make It From Your Heart Vol 2 #21.  The Chalk It Up Complements have so many fabulous pieces that work for layouts or cards…and this is yet another of them!  How great will this card be to give your special student a "hi-five" note?!  I'm still in love with the doodling…it makes plain cardstock "pop"!


Studio Sus creation made for me by Susan Williams. 


Scrap ~ Chat ~ Create

Wednesday, September 3, 2014

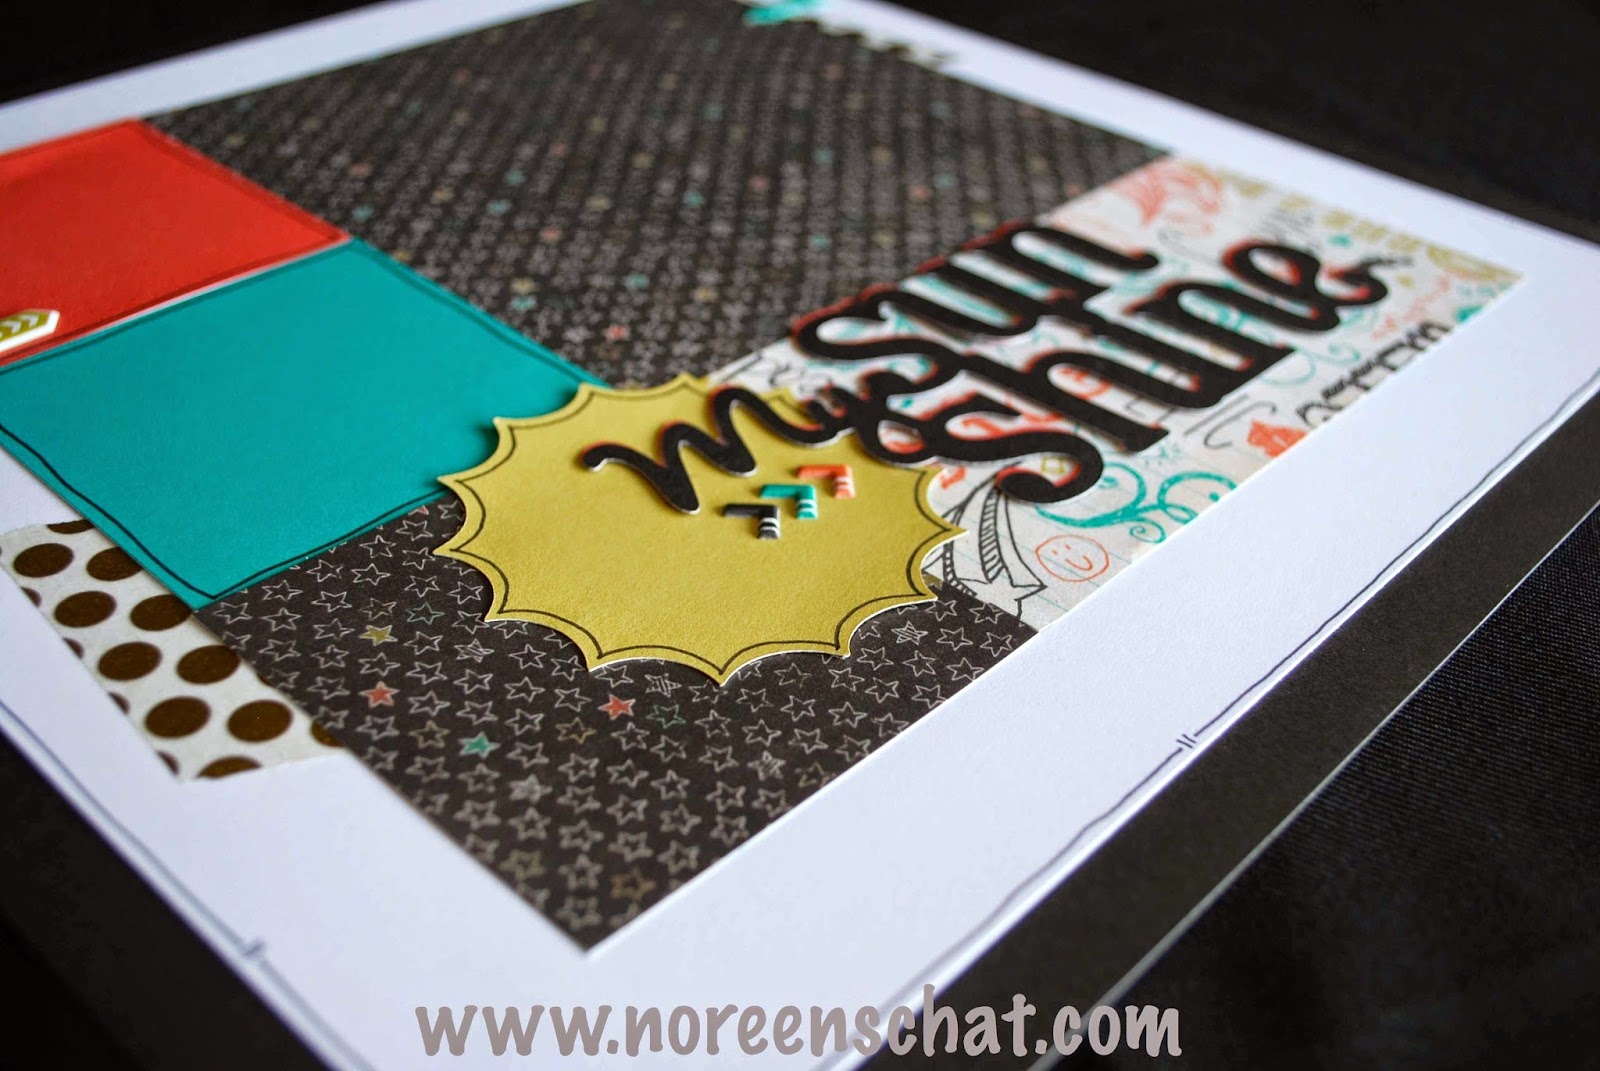
CTMH Chalk It Up My Sunshine Layout

This Chalk It Up layout was created for me by my dear friend Susan Williams.  She is so super talented and always inspires me!  We were both working on projects at the same time…in separate states…and I love seeing how different our projects came out!

The Close to My Heart Chalk It Up collection would be categorized as "school-themed", but this layout would be fitting for just about any photos of that special person or persons in your life!


The pattern is Magician's Choice from the Magic pattern book.  The puffy stickers from the Chalk It Up Assortment, despite their tiny size, add big detail to the layout!  I also tend to be partial to the gold polka washi tape…love me some dots!!  The title and sun were cut from the Cricut Artbooking collection.
A recent trend, that I'm finding I'm doing a whole lot more….doodling!  I love how this inexpensive and simple technique really completes the layout! 


Scrap ~ Chat ~ Create

Tuesday, September 2, 2014

CTMH Chalk It Up Friendship Card

I love the color combination of the Chalk It Up line and that it can so easily be used for masculine or feminine creations!!  This Chalk It Up card follows the pattern from Make It From Your Heart Vol 2 #23.  The sentiment is from the You Mean the World to Me stamp set (B1467).  The sentiment was paper-pieced with Flaxen cardstock to give it color and help it pop off the card!  The "ribbon" strips on the upper right of the card are from the zipstrip at the top of the Chalk It Up paper.


Studio Sus creation made for me by Susan Williams.


Scrap ~ Chat ~ Create